How To - Manage Capacity Tab - Capacity Groups
Creating a Capacity Group
-
Go to the Manage Capacity section.
-
Click on the Capacity Groups tab.
-
Click the Add New button to create a new capacity group.
-
Enter a descriptive name for the capacity group, such as:
-
"Main Dining Room"
-
"Private Dining"
-
"Outdoor Terrace"
-
-
Save the new capacity group.
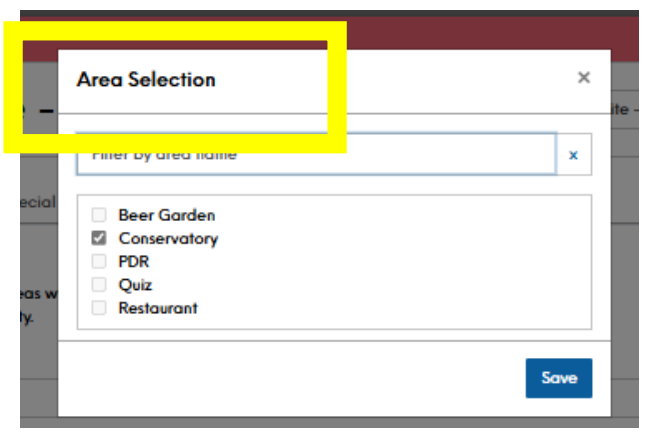
Now that you've created the capacity group, you need to assign your venue's areas to it.
Assigning Areas to Capacity Groups:
-
Go to the Manage Sites section and click on the Areas tab.
-
Find the area you want to assign to a capacity group.
-
Click the Edit button for that area.
-
In the Area settings, you'll see a Capacity Group dropdown.
-
Select the capacity group you just created (e.g. "Main Dining Room").
-
Save the changes to the area.

By grouping your areas into capacity groups, you can then:
-
Apply time slot settings at the group level
-
Manage capacity limits and party size restrictions per group
-
Ensure bookings are only accepted for areas within the appropriate group
This provides you with a more centralised and efficient way to control availability and capacity across your venue. The key benefit of capacity groups is that they allow you to apply consistent policies and settings to related areas, rather than having to configure each area individually.
